
How to Install Searx Search Engine with Docker on a Linux Server or Home Lab
Searx is an open-source, privacy-respecting metasearch engine that can be deployed easily using Docker. This guide explains how to install and configure Searx using the official searx/searx Docker image.
Step 1: Install Docker
Before running Searx, ensure that Docker is installed on your system. If Docker is not installed, you can install it by following the official Docker installation guide for your Linux distribution.
Step 2: Pull the Searx Docker Image
Download the official Searx Docker image by running the following command:
docker pull searx/searx
Step 3: Deploy a Local Searx Instance
To start a Searx instance on your local machine, first, set the port where Searx will be accessible:
export PORT=80
Then, run the following command to start Searx using Docker:
docker run –rm -d -v ${PWD}/searx:/etc/searx -p $PORT:8080 -e BASE_URL=http://localhost:$PORT/ searx/searx
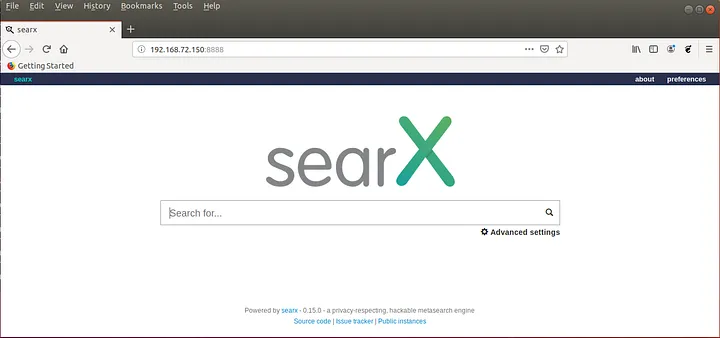
After running this command, open a web browser and go to http://localhost:$PORT to access the Searx search engine.
Step 4: Modify Searx Configuration Files
The ${PWD}/searx directory will contain two important configuration files:
- settings.yml — Used to configure Searx settings, such as search filters, autocomplete options, and result proxy settings.
- uwsgi.ini — Used to configure the uWSGI server settings.
You can edit these files to customize your Searx instance. After making changes, restart the Docker container to apply them.
Step 5: Running Searx with Command-Line Options
You can use various command-line options when running the Searx Docker container:
docker run –rm -it searx/searx -h
This will display the available options. Some useful flags include:
- -h — Show help information.
- -d — Perform a dry run to update the configuration files.
- -f — Force update configuration files (existing files are backed up with a .old suffix).
Step 6: Using Environment Variables to Configure Searx
You can set various environment variables when starting the Docker container to customize your instance:
- INSTANCE_NAME — Sets the instance name in settings.yml.
- AUTOCOMPLETE — Enables search autocomplete in settings.yml.
- BASE_URL — Sets the base URL of the instance in settings.yml.
- MORTY_URL and MORTY_KEY — Configures a result proxy if needed.
- BIND_ADDRESS — Specifies the network address Searx should listen on. The default is 0.0.0.0:8080.
For example, to run Searx with a custom instance name and enabled autocomplete, use:
docker run –rm -d -p 80:8080 -e INSTANCE_NAME=”MySearx” -e AUTOCOMPLETE=”duckduckgo” searx/searx
Step 7: Building Searx from Source with Docker
If you want to build the Searx Docker image from the source code, follow these steps:
git clone https://github.com/searx/searx.git
cd searx
make docker.build
Step 8: Deploying a Public Searx Instance
If you plan to run a public Searx instance using Docker, refer to the official guide at:
https://github.com/searx/searx-docker
This guide includes additional security recommendations and best practices for setting up a public search engine.
Conclusion
You have now successfully installed and configured Searx using Docker. You can further customize your instance by modifying the settings.yml file or using environment variables. If you need help setting up Searx with HTTPS or a reverse proxy, let me know! ?