

In this tutorial, we’re going to take a look at how to install pfSense on Proxmox. pfSense is a free and open source firewall and router that can be run inside of Proxmox as a virtual machine.
One of the many benefits of running pfSense inside of Proxmox is that you’re able to take snapshots right before upgrades. This gives you an incredibly easy rollback plan in case anything goes wrong. When an update is released, you can take a snapshot of the system, run the update and if something doesn’t work, quickly and easily roll back to the snapshot. This is a tremendous benefit and is a great reason to run pfSense inside of Proxmox.
The links below are Amazon affiliate links which means that I earn a percentage of each sale at no cost to you. Thank you for your support.
Another benefit of running pfSense inside of Proxmox is that you can purchase a reasonably priced Intel I350 NIC (or one of many other NICs) that works great with pfSense and have a fully functional router and firewall virtualized directly on your Proxmox server. Please keep in mind that you can always purchase hardware directly from Netgate.
1. How to Install pfSense on Proxmox
Before we look at how to install pfSense on Proxmox, ensure that you have a NIC installed in your Proxmox server as we’ll have to use this to pass it through to our pfSense virtual machine.
1. Download the latest AMD64 DVD Image (ISO) installer from the pfSense website.
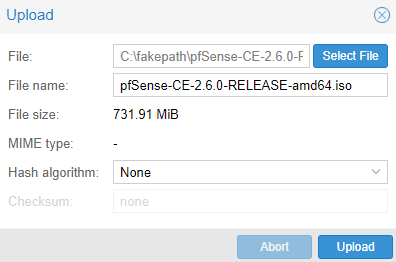
2. Upload the ISO that was just downloaded to the Proxmox server.
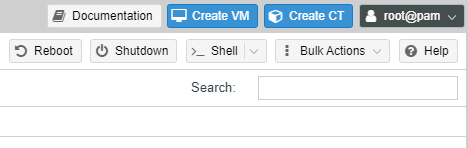
3. Select Create VM in the top right corner.
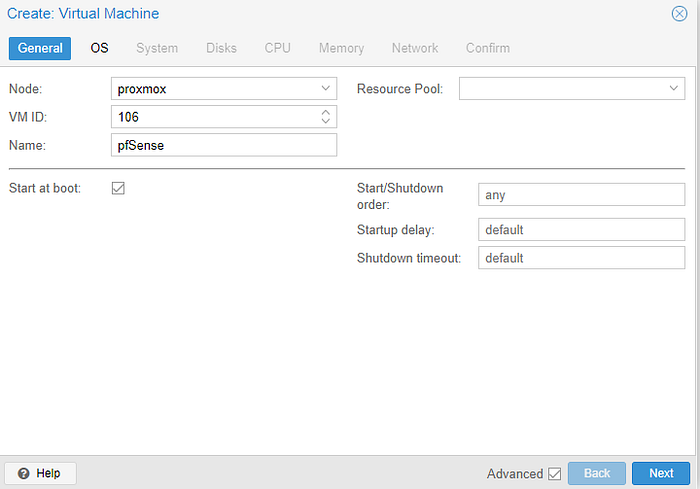
4. Give the VM a name, then check off start at boot. Select next to proceed.
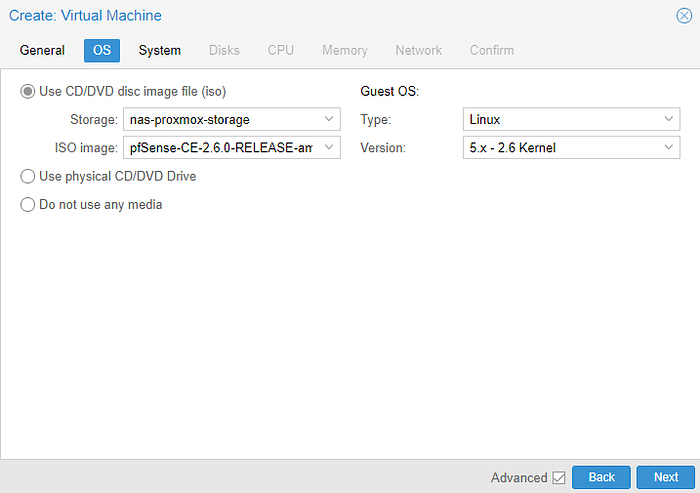
5. Select the pfSense ISO image and then select next.
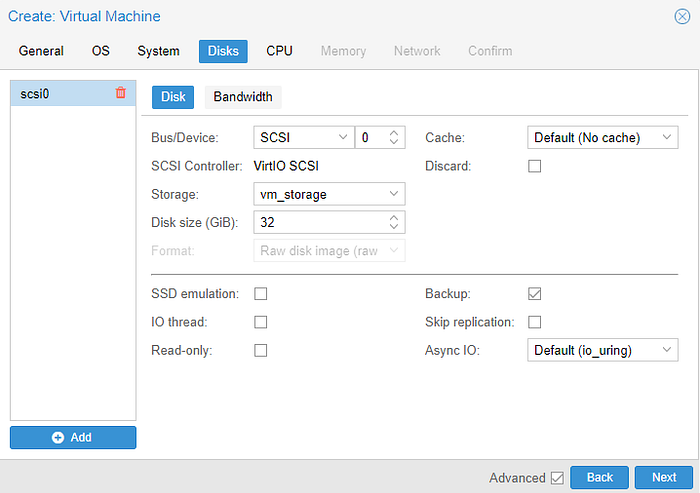
6. In the Disks section, select the correct storage location, leave the disk size as 32GB (you can change this if you’d like), and select next.
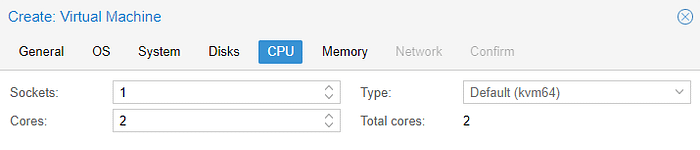
7. Set the CPU cores that you’d like to use, then select next.
8. Set the total amount of memory that you’d like to use, then select next.

9. In the network section, select no network device, then select next.

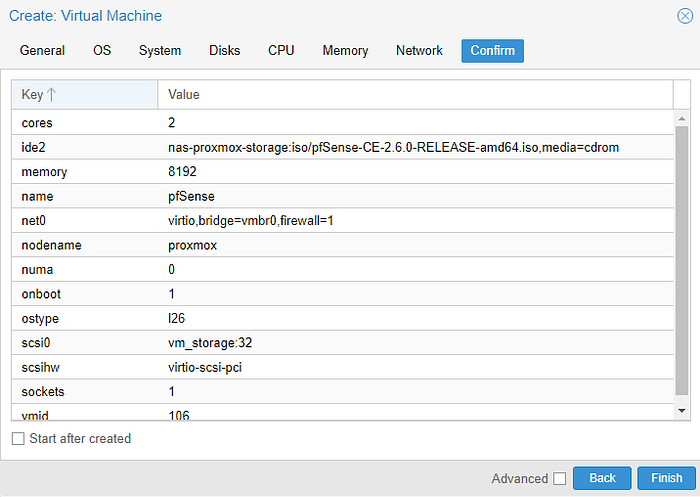
10. In the confirm section, ensure that start after created is not selected, then click finish.
10. In the newly created virtual machine, select hardware, then add, and then PCI device.

11. This step will be different for everyone. Mainly because the NIC that you’re using will determine what is listed in the PCI device section.
The goal is to add the NIC to the pfSense virtual machine, but you might have to add each individual port (this will be different based on the NIC you’re using). One port will be used as the WAN (connected from the modem) and one will be for the LAN (connecting from the server to the Switch). Add the NICs and then ensure that the ethernet cables are plugged in properly (Modem to one port and the Switch to the other port).

12. You can now start the virtual machine and monitor the console!

2. Setting up pfSense — How to Install pfSense on Proxmox
Now that our Proxmox configuration is set up, we’re going to shift over to the pfSense setup. This will be done through the console inside of Proxmox.
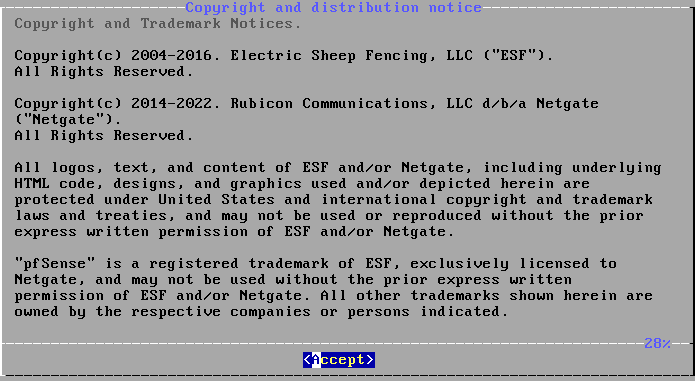
1. Accept the copyright and trademark notices if you agree.
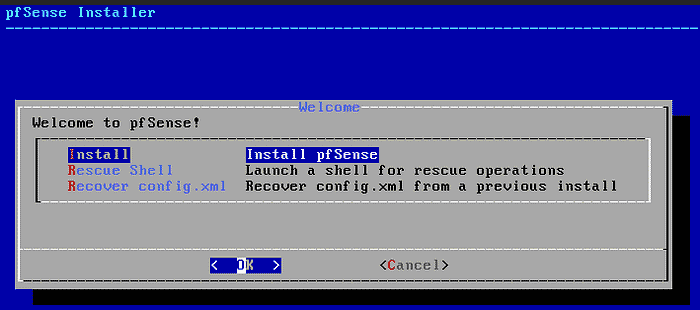
2. Select install pfSense.
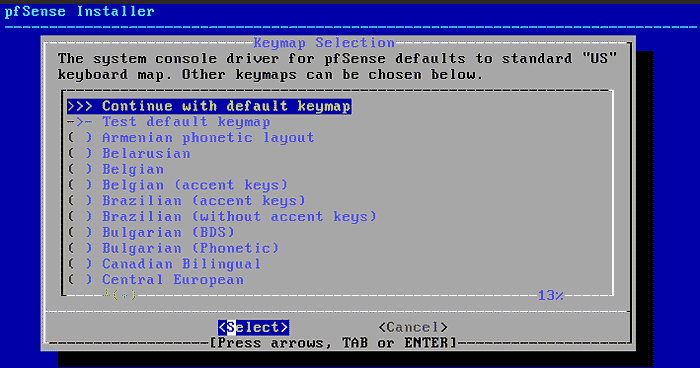
3. Select a keymap, or continue with the default.
4. Select Guided Root-on-ZFS then select OK.

5. Select install to proceed with the installation.

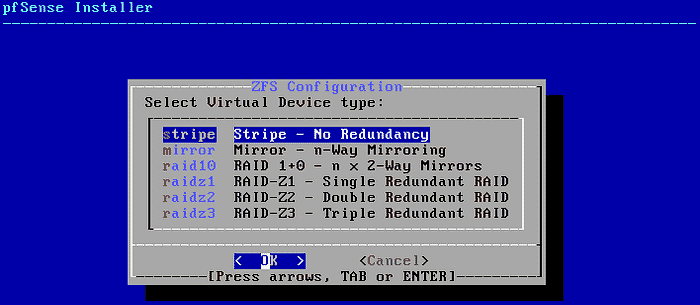
6. At this step, you can select strip — no redundancy. If you’d like to use redundancy, you can modify that here (though your initial setup will be different than this tutorial).
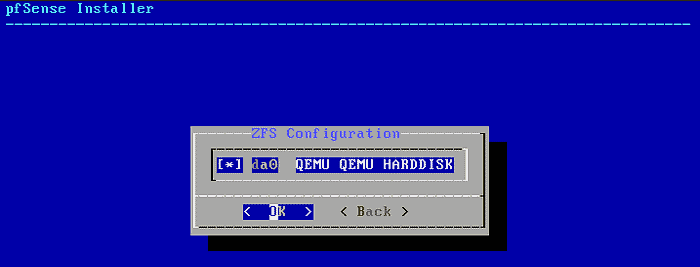
7. Select the hard disk and then OK.
8. If you’d like to proceed, select yes.
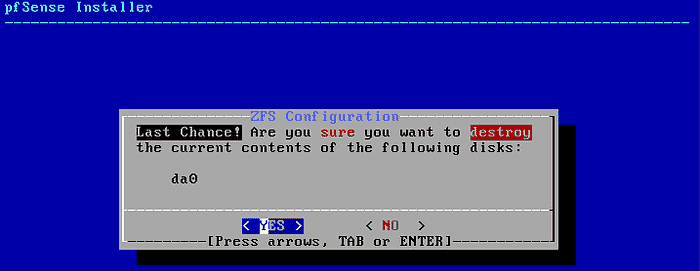
9. The pfSense operating system will now be installed!

10. Select no at the manual configuration page.

11. Finally, reboot the system.

3. pfSense WAN/LAN Setup — How to Install pfSense on Proxmox
At this point, our virtual machine is set up and configured and the pfSense operating system is fully installed. The final step is to ensure that our interfaces are set up properly inside of pfSense so that we can access the web management console.
1. Your WAN and LAN will automatically be assigned IP addresses (assuming that the ethernet cables are plugged into each port).
If this information is correct, you can access pfSense by navigating to the LAN IP Address. Please keep in mind that your current device must be on the same subnet in order to access it (in this example, the device’s IP address must be 192.168.1.X).
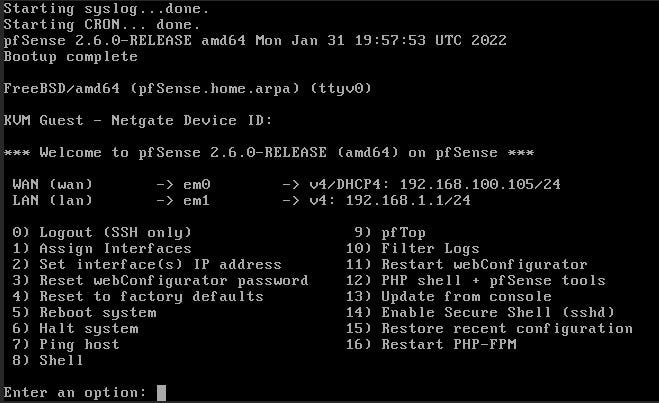
2. If it’s not correct, select 2 to access the assign interfaces section, then enter the interface number that you’d like to configure.
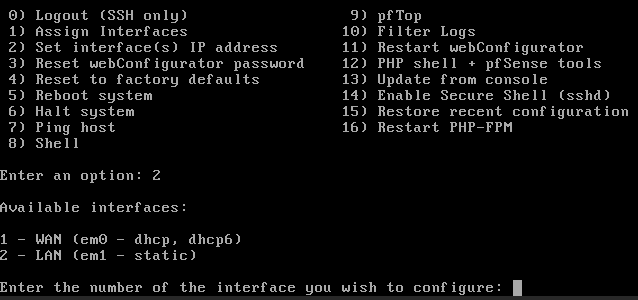
3. The steps will be different based on if you selected the WAN or LAN interface, but you’ll have to go through and set it up how you’d like it to be configured.
NOTE: If you don’t have a WAN IP address, reboot your modem, then reboot pfSense.
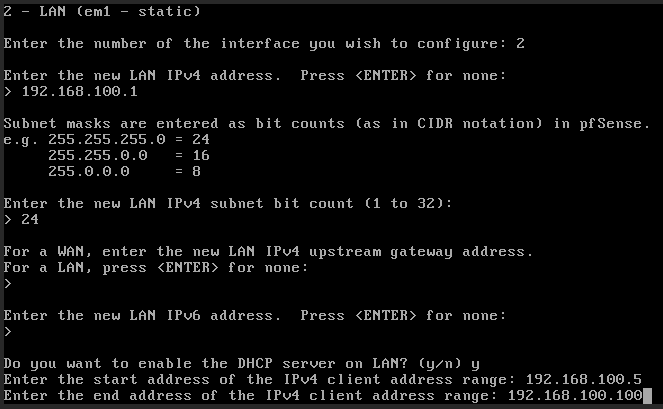
4. At the final question, select n to continue using HTTPS for the web configuration.

5. Everything will reload and you’ll be able to access your pfSense web management console using the LAN IP address! Please make sure that the device you’re currently on is on the same subnet as the LAN subnet that you chose (or has a route to it). If you’re not, you will have trouble accessing it.
NOTE: Once again, if the WAN configuration doesn’t appear to be getting an IP address, restart your modem, then restart pfSense.
https://LAN_IP_ADDRESS

4. pfSense Configuration
1. Now that we can access pfSense, log in with the credentials below:
- pfSense Default Username: admin
- pfSense Default Password: pfsense
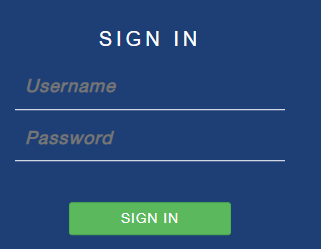
2. The next steps will walk us through our pfSense configuration!
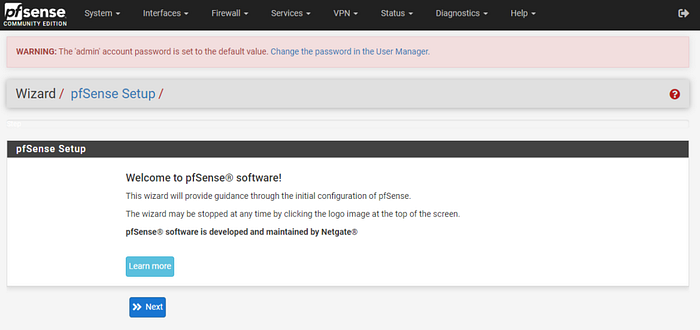
3. Select next until you get to the hostname, domain, primary, and secondary DNS section. Populate these settings as you’d like, then press next.
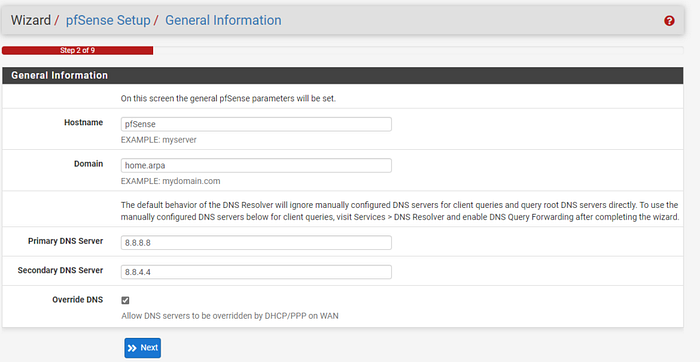
4. Select a time server.

5. Leave the WAN configuration as DHCP, then select next.
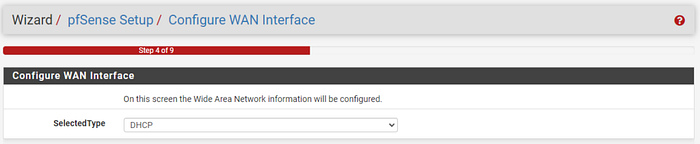
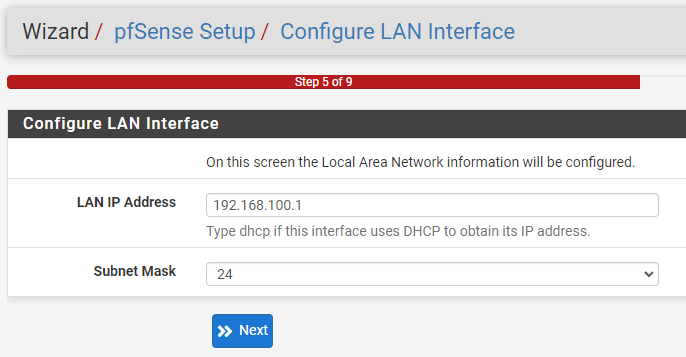
6. Modify the LAN configuration if necessary.
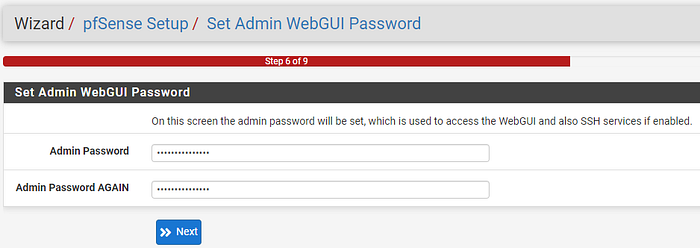
7. Change the password for the admin user.
8. Select reload to reload the web GUI.
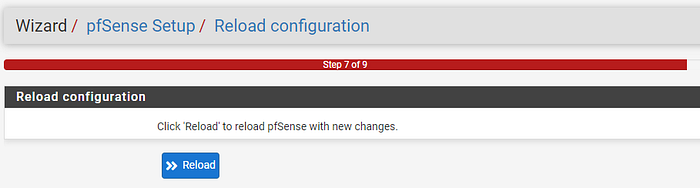
9. When it reloads, pfSense will be ready to use! At this point, you can run through configuring it or setting up various different packages.
5. Conclusion — How to Install pfSense on Proxmox
This tutorial looked at how to install pfSense on Proxmox! If you’d rather run pfSense on dedicated hardware, there are some great choices. However, running pfSense on Proxmox has a lot of benefits — particularly, updates. Having a full rollback plan for your router/firewall is extremely beneficial.
Thanks for checking on the tutorial on how to install pfSense on Proxmox. If you have any questions on how to install pfSense on Proxmox, please leave them in the comments!
Please share if this helped you!
NOTE: If you like what we do, support our channel, put like and add our channel to your favorites. Follow Our Channel to get more guides.