Keeping your CentOS system updated is crucial for security and stability. Instead of manually installing updates, you can enable automatic updates to ensure that your system receives security patches and software improvements without user intervention.
This guide explains how to set up automatic updates on CentOS 10 using dnf-automatic and the Cockpit web console.

Method 1: Enable Automatic Updates with DNF-Automatic
Step 1: Install the dnf-automatic Package
CentOS 10 uses DNF (Dandified Yum) as its package manager. To enable automatic updates, install the dnf-automatic package by running:
sudo dnf install dnf-automatic -y
To check package details after installation, use:
rpm -qi dnf-automatic

Step 2: Configure Automatic Updates
Once installed, edit the automatic.conf file to configure update settings:
sudo nano /etc/dnf/automatic.conf
Modify the [commands] section to set the update type:
upgrade_type = default
random_sleep = 0
download_updates = yes
apply_updates = yes
default→ Installs all available updates.security→ Installs only security updates.
Enable update notifications in the [emitters] section:
emit_via = motd
To receive email alerts about updates, configure the [email] section:
email_from = root@myserver.example.com
email_to = root
email_host = localhost
Save the file and exit.
Step 3: Enable and Start Automatic Updates
To activate automatic updates, enable and start the dnf-automatic.timer service:
sudo systemctl enable –now dnf-automatic.timer
To check the status of scheduled update tasks, run:
sudo systemctl list-timers dnf-
Method 2: Enable Automatic Updates with Cockpit Web Console
CentOS 10 includes Cockpit, a web-based interface for managing the system. You can use it to enable automatic updates.
Step 1: Install and Start Cockpit
If Cockpit is not installed, install it using:
sudo dnf install cockpit -y
sudo systemctl enable –now cockpit.socket
Step 2: Access Cockpit Web Interface
- Open a web browser and go to:
https://your-server-ip:9090 - Log in with an admin account.
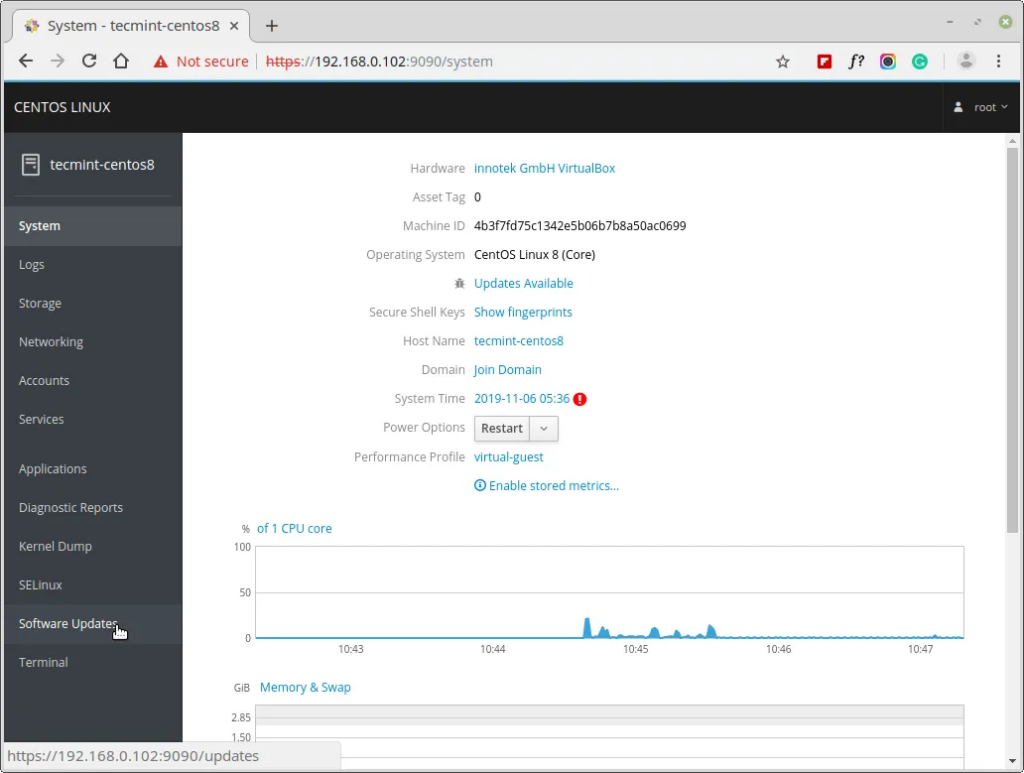
- In the left menu, select Software Updates.
- Toggle Automatic Updates ON and choose one of the following:
- Apply All Updates
- Apply Security Updates
- Set the day and time for updates and system reboots.
Note: Cockpit requires a scheduled reboot after updates. Ensure the server can be restarted at the selected time.

Conclusion
You have successfully enabled automatic updates on CentOS 10 using two methods:
- DNF-Automatic (Command-line method) for full control over update settings.
- Cockpit Web Console (GUI method) for an easy, user-friendly approach.
Would you like help with configuring update notifications, setting up update logs, or troubleshooting DNF errors? Let me know! ?


