
How to Install Virtualmin on Ubuntu 22.04 or 24.04
Virtualmin is a powerful and flexible web hosting control panel that simplifies server management by providing an easy-to-use interface. With Virtualmin, you can manage websites, databases, users, and security settings efficiently.
Virtualmin features a number of scripts that can simplify the process of installing and maintaining software on your servers. It comes with a script installer for popular applications like Drupal, Joomla, bbPress, Django… and many others.
Virtualmin also provides an updater tool to help you update all aspects of your server software in a single operation. It even allows you to check for security updates and clone your entire Virtualmin installation with one click of a button.
This guide explains how to install Virtualmin on Ubuntu 22.04 or Ubuntu 24.04 using an official installation script.
Prerequisites
- A Ubuntu 22.04 or 24.04 server
- Root or sudo access to the server
- A fully qualified domain name (FQDN) such as
virtualmin.example.com - A firewall configured to allow necessary ports
Step 1: Update Your System
Before installing Virtualmin, update the system packages to ensure everything is up to date:
sudo apt update && sudo apt upgrade -y
Once the update is complete, reboot the server:
sudo reboot now
Step 2: Download and Install Virtualmin
Download the Installation Script
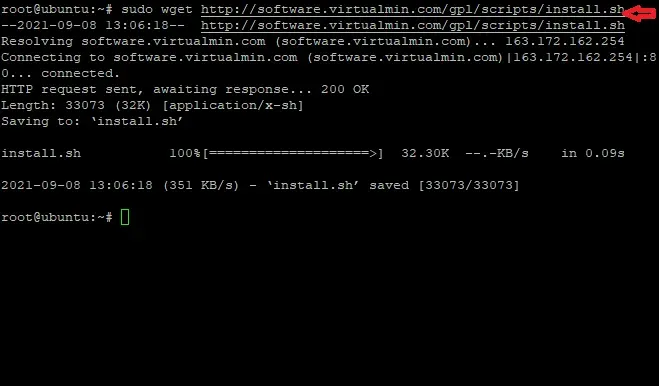
Virtualmin provides an automated script to install all required dependencies easily. Download it using:
sudo wget http://software.virtualmin.com/gpl/scripts/install.sh
Grant Execution Permission
After downloading the script, set the correct permissions:
sudo chmod a+x install.sh
Run the Installation Script
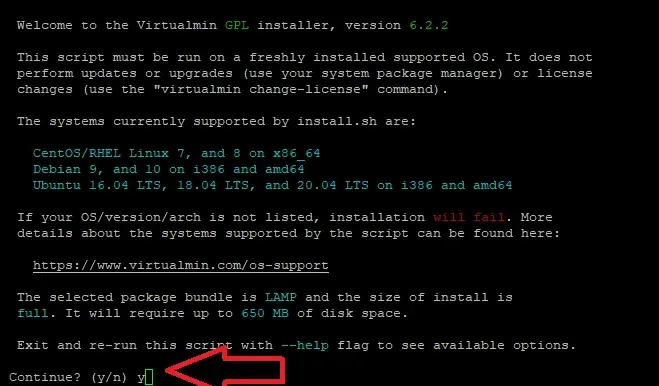
Now, run the installation script:
sudo ./install.sh
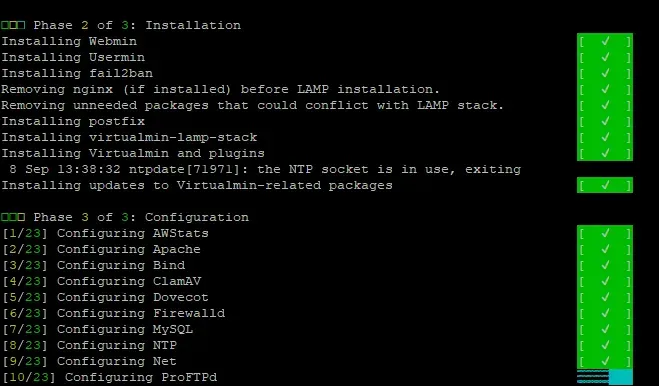
The installer will ask configuration questions. Press Y to continue and let the script complete the installation.
Step 3: Set the Hostname
Virtualmin requires a fully qualified domain name (FQDN). To set it, use:
sudo hostnamectl set-hostname virtualmin.example.com
Replace virtualmin.example.com with your actual domain.
Step 4: Configure the Firewall for Virtualmin
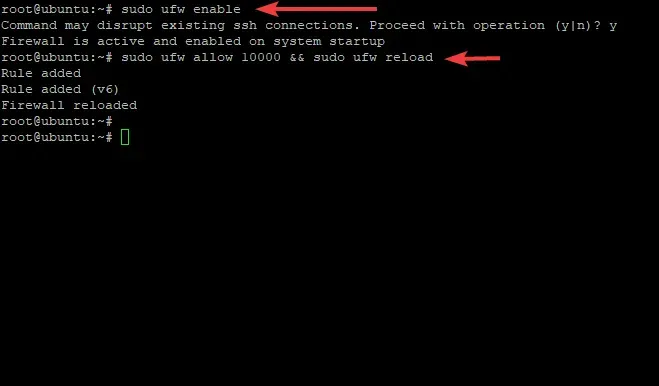
Virtualmin uses port 10000 for its web interface. Allow this port in the firewall:
sudo ufw enable
sudo ufw allow 10000/tcp
sudo ufw reload
To verify the firewall status, run:
sudo ufw status verbose
Step 5: Access Virtualmin Web Interface
Once the installation is complete, access the Virtualmin web interface by opening a browser and entering your server’s IP address or domain name:
or
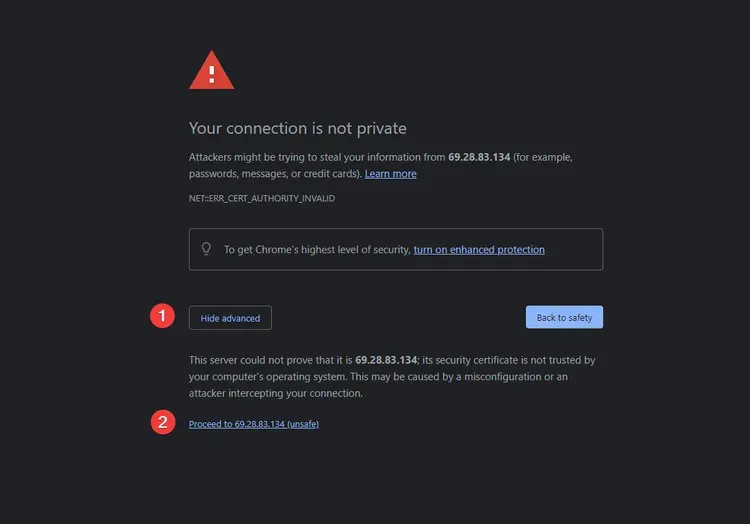
Since Virtualmin uses a self-signed SSL certificate, your browser may show a security warning. Click on Advanced → Proceed to the site.
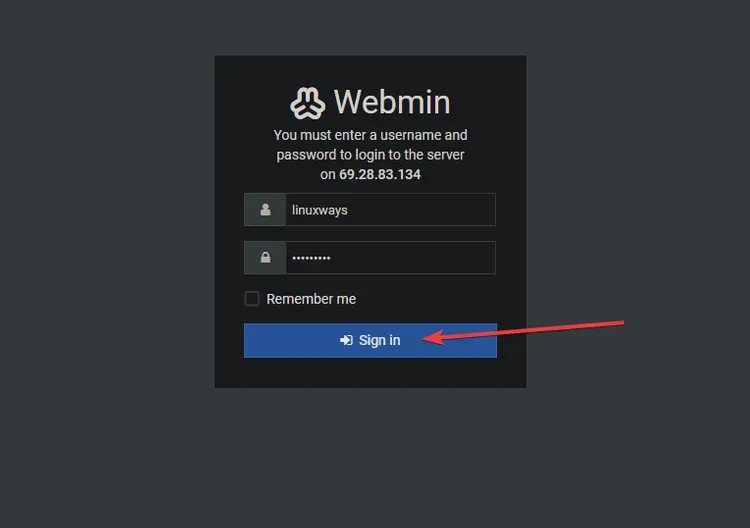
Log in using your root username and password.
Conclusion
You have successfully installed Virtualmin on Ubuntu 22.04 or 24.04. Now, you can manage your web hosting, databases, and server settings through its web interface.
Would you like help with configuring additional security settings, setting up website hosting, or automating backups? Let me know!