
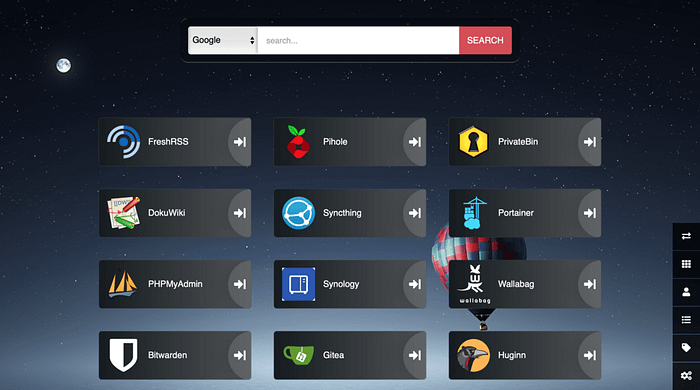
Introduction
Heimdall is a quick and easy way to organize all of your applications and frequently visited links into one page. Personally, I have enabled the Google search bar and use this application as my browser start page. Once you add your application to the dashboard through its easy to use interface, you can drag and drop to move the buttons around as you see fit. You can also create different pages to sort your applications further.
This tutorial assumes you already have Docker Installed on your system, if not, you can view the Quick and Easy Steps to Install Docker.
Create a Volume
Run the following command to create a volume in docker to persistently store your configuration by running the following code in your ssh terminal:
docker volume create heimdall
Docker Run Code
After the volume is created, copy and paste the below command into your terminal to download and run the container
docker run \
-name=heimdall \
-e PUID=1000 \
-e PGID=1000 \
-e TZ=america/new_york \
-p 8006:80 \
-p 406:443 \
-v heimdall:/config \
-restart unless-stopped \
linuxserver/heimdall
Variable Information
-p 8006:80Map port 8006 to port 80 on the container for HTTP traffic
-p 406:443Map port 406 to 443 on the container for HTTPS traffic
-v heimdall/configheimdall docker volume mapped to the containers /config folder-e TZ=america/new_yorkYour time zone from the TZ Database
-e PGID=1000Process Group ID
-e PUID=1000Process User ID
That’s it!
Now you should be able to access your Heimdall installation at http://YOURSERVERIP:8006. Replace YOURSERVERIP with the server IP or hostname of the computer that you are using to run Docker and you will be up and running.