
Debian is a reliable and secure Linux operating system, perfect for server environments. This guide will walk you through installing a minimal Debian 12 or Debian 10 server, ensuring a lightweight and customizable setup for your needs.
System Requirements
Minimum:
- RAM: 512MB
- Processor: 1GHz Pentium
- Hard Drive: 10GB
Recommended for better performance:
- RAM: 2GB or more
- Sufficient storage based on workload
Step 1: Download Debian 12/10 ISO
Visit the official Debian website to download the latest netinstall ISO image:
Debian Download Page
Choose the appropriate version:
- For 64-bit systems:
debian-12.1.0-amd64-netinst.iso - For 32-bit systems:
debian-12.1.0-i386-netinst.iso
Step 2: Create a Bootable USB Drive
Once the ISO image is downloaded, create a bootable USB drive using one of these tools:
- Windows: Use Rufus
- Linux/Mac: Use Etcher or
ddcommand
Step 3: Boot from USB & Start Installation
- Insert the bootable USB and restart your system.
- Enter BIOS settings (press F2, F12, DEL, or ESC during boot).
- Set the USB drive as the primary boot device.
- Save changes and restart.
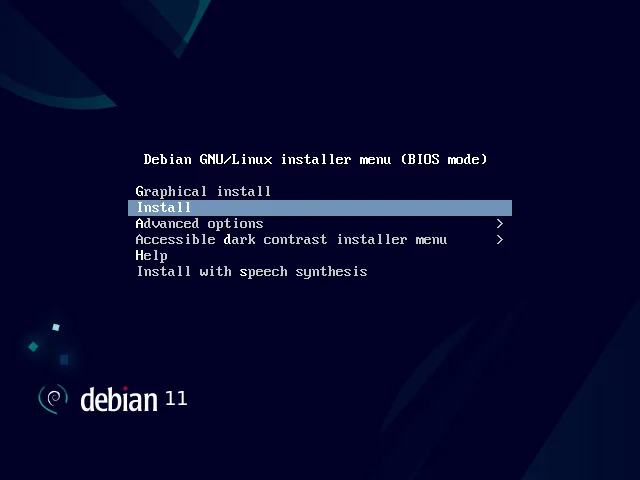
When the Debian installation menu appears:
- Select “Install” and press Enter.
Step 4: Configure Installation Settings
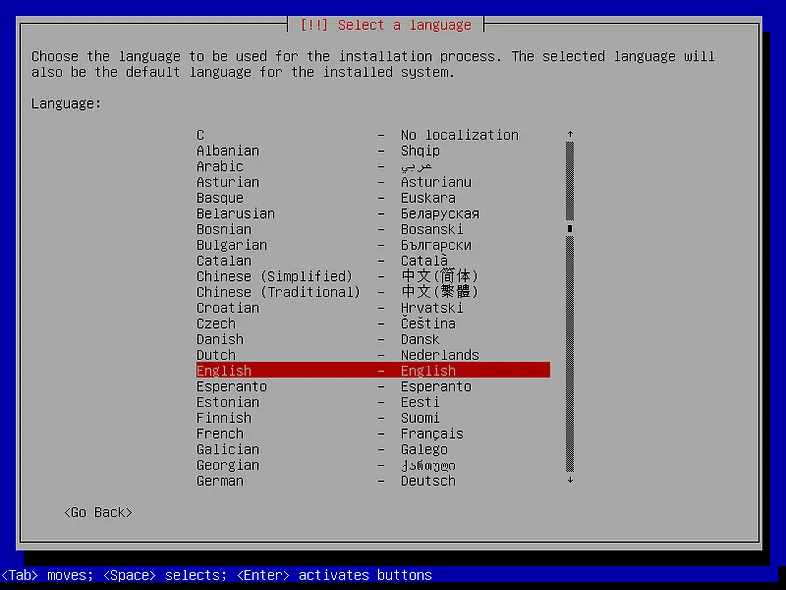
Select Language, Location & Keyboard Layout
- Choose your preferred language.
- Select your country and time zone.
- Choose your keyboard layout.
Step 5: Configure Network & User Accounts
Set Up Hostname & Domain Name
- Enter a hostname (e.g.,
debian-server). - Enter a domain name (optional, e.g.,
example.com).
Create Users & Set Passwords
- Set a root password.
- Create a new user with a strong password.
Step 6: Partition the Disk
Manual Partitioning (Recommended for Servers)
- Select Manual Partitioning.
- Choose the disk to partition and create:
- Swap Partition (2-4GB)
- Root Partition (
/) (minimum 10GB, use Ext4) - Home Partition (
/home) (optional for user data)
- Finish partitioning and write changes to disk.
Step 7: Install the Base System
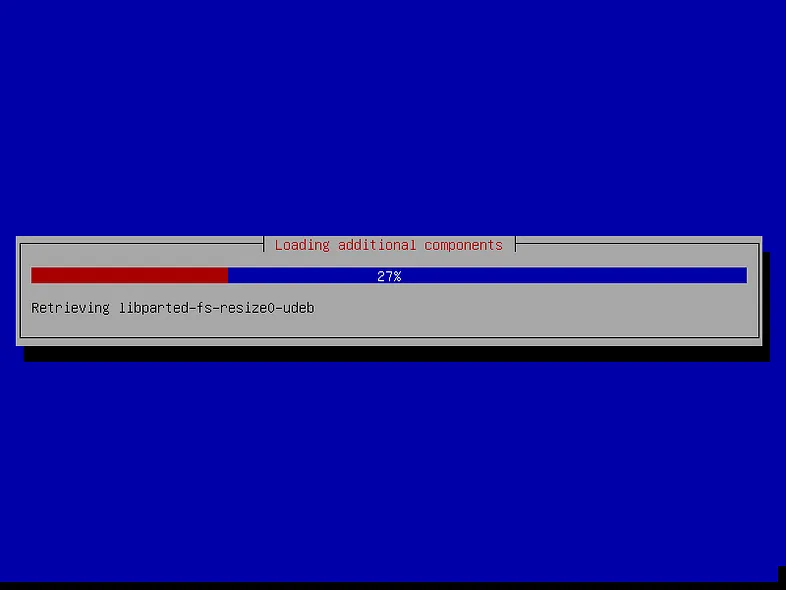
- The installer will begin copying system files.
- Configure the package manager (skip CD-ROM scanning).
- Choose a Debian mirror for package updates.
- Decide whether to participate in the package usage survey.
- Select Standard System Utilities for essential tools.
Step 8: Install GRUB Bootloader & Complete Installation
- Select “Yes” to install the GRUB bootloader.
- Choose the primary disk for bootloader installation.
- Once installation is complete, remove the USB drive and reboot.
Step 9: First Boot & Post-Installation Setup
- Log in with your new user account.
- Update system packages:
sudo apt update && sudo apt upgrade -y - Install essential tools:
sudo apt install wget curl vim net-tools -y
Conclusion
Your Debian 12/10 server is now successfully installed and ready for customization. You can now set up a web server, database server, or any application based on your requirements.
For further configuration, check:
- Apache/Nginx Web Server Setup
- MySQL/PostgreSQL Database Setup
- Firewall & Security Hardening
Enjoy your Debian server! ?